Food photography with Rupa: Part 7 – Bringing It All Together

A Step-by-Step Food Shoot Using Just Your iPhone
Over the previous six articles, we’ve explored some of the key foundations of taking professional-looking food photos with your phone, from iPhone setup, lighting, composition, to angles, styling and storytelling and editing. Now it’s time to bring them all together in action.
For this final piece in the series, I visited the chef and author Dipna Anand at her beautiful new Gastropub Brilliant Gastro in Southall (you can find Dipna’s cookbook Dip In Brilliant available in full on ckbk, by the way).
Dipna and I originally connected via Instagram during lockdown. She joined my iPhone Food Photography course because she was creating dishes at home and wanted to showcase them in the best light.

Fast forward to today, and we’re still creating food content together, but this time, I’m walking you through the some of the exact steps I take when photographing food on location using just my iPhone.
Step 1: Clean, Check and Set Up Your Phone
Before I even start shooting, I always begin with a quick phone setup checklist:
Check your storage – nothing worse than running out of space mid-shoot!
Clean your lenses – it's a simple thing but it makes a big difference. A greasy fingerprint can ruin your photo before you even start.
Turn on grid lines – in your camera settings this helps you align your shots properly (especially useful for overhead or angled compositions).
Disable Live mode – (if using iPhone) to avoid blurry images.
Lock exposure and focus – press and hold on your subject before taking the photo to avoid unwanted shifts. Remember you make the photo not the phone.
These small steps set the foundation for strong results, before you even press the shutter.
Check out Part 1 in the series, which goes through the full process in more detail.

Step 2: Choosing the Right Light
Lighting is everything in food photography and when you’re shooting on location, you have to make the best of what’s available.
I was lucky on the day of the shoot. I arrived at the restaurant when it was bright but overcast which gave us beautiful soft natural light.
I knew I’d be using sidelight to light the food, which meant the window was to the side of me and the dishes, rather than behind or in front.
Sidelight is one of my favourite setups because:
It works for most types of food
It’s a simple and achievable setup, wherever you are
And it helps create depth, texture and a 3D feel, which makes food look more mouthwatering and professional
I positioned the table right next to the window to get as much daylight as possible.
While I couldn’t switch off all the overhead lights as they had customers in the gastropub I repositioned the table to avoid harsh downlights directly above.
If the light had been stronger or more direct, I would’ve used a simple diffuser or parchment paper to soften it.

Step 3: Composing the Scene
Once I had the light, it was time to think about composition.
I used a triangle composition for one of the main shots, placing three dishes in a natural triangle to draw the eye across the image. It’s a simple but powerful technique that adds balance and movement.
I also paid attention to:
Negative space - not crowding the image
Clean edges - wiping down plates or tables to avoid distractions
Props and background - using Dipna’s restaurant interior as part of the storytelling
I kept it natural and minimal, letting the food speak for itself.

Check out Part 3 of this series, which goes through other composition techniques that are great for food photography.
Step 4: Finding the Best Angles
Camera angles are everything when it comes to showing food at its best.
I shot a mix of:
Overhead (flat lay) for plated spreads
45° angles for multi-dish compositions
Close-ups at table level to show texture and detail
I also used both Portrait Mode and standard Photo Mode, depending on what I was capturing.
For flat lays or multiple dishes, standard Photo Mode works better. For hero shots or close-ups, Portrait Mode helps isolate the subject beautifully.

Check out the Article 4 – on how to do perfect food flatlay / overhead shots.
Step 5: Styling and Storytelling
The beauty of shooting in a restaurant like Dipna’s is that the ambience, dishes and setting already tell a story.
I didn’t need to do much food styling, but I made a few small tweaks:
Removed excess garnish
Cleaned edges of plates
Adjusted placement slightly for better visual balance
For props, I kept it simple, using real elements from the restaurant to reflect where we were: the wooden table, natural light, and in some shots the gastropubs interiors.
Even in a professional setting, a few small tweaks can elevate the final photo and bring more emotion to the story.

Step 6: Natural Editing That Keeps the Food Looking Real
When it comes to editing, less is more.
Because the lighting was great and the food was vibrant, I only made minor adjustments:
Tweaked exposure
Adjusted warmth and contrast
Cropped for composition
I always aim to enhance what’s already there not change the essence of the dish.
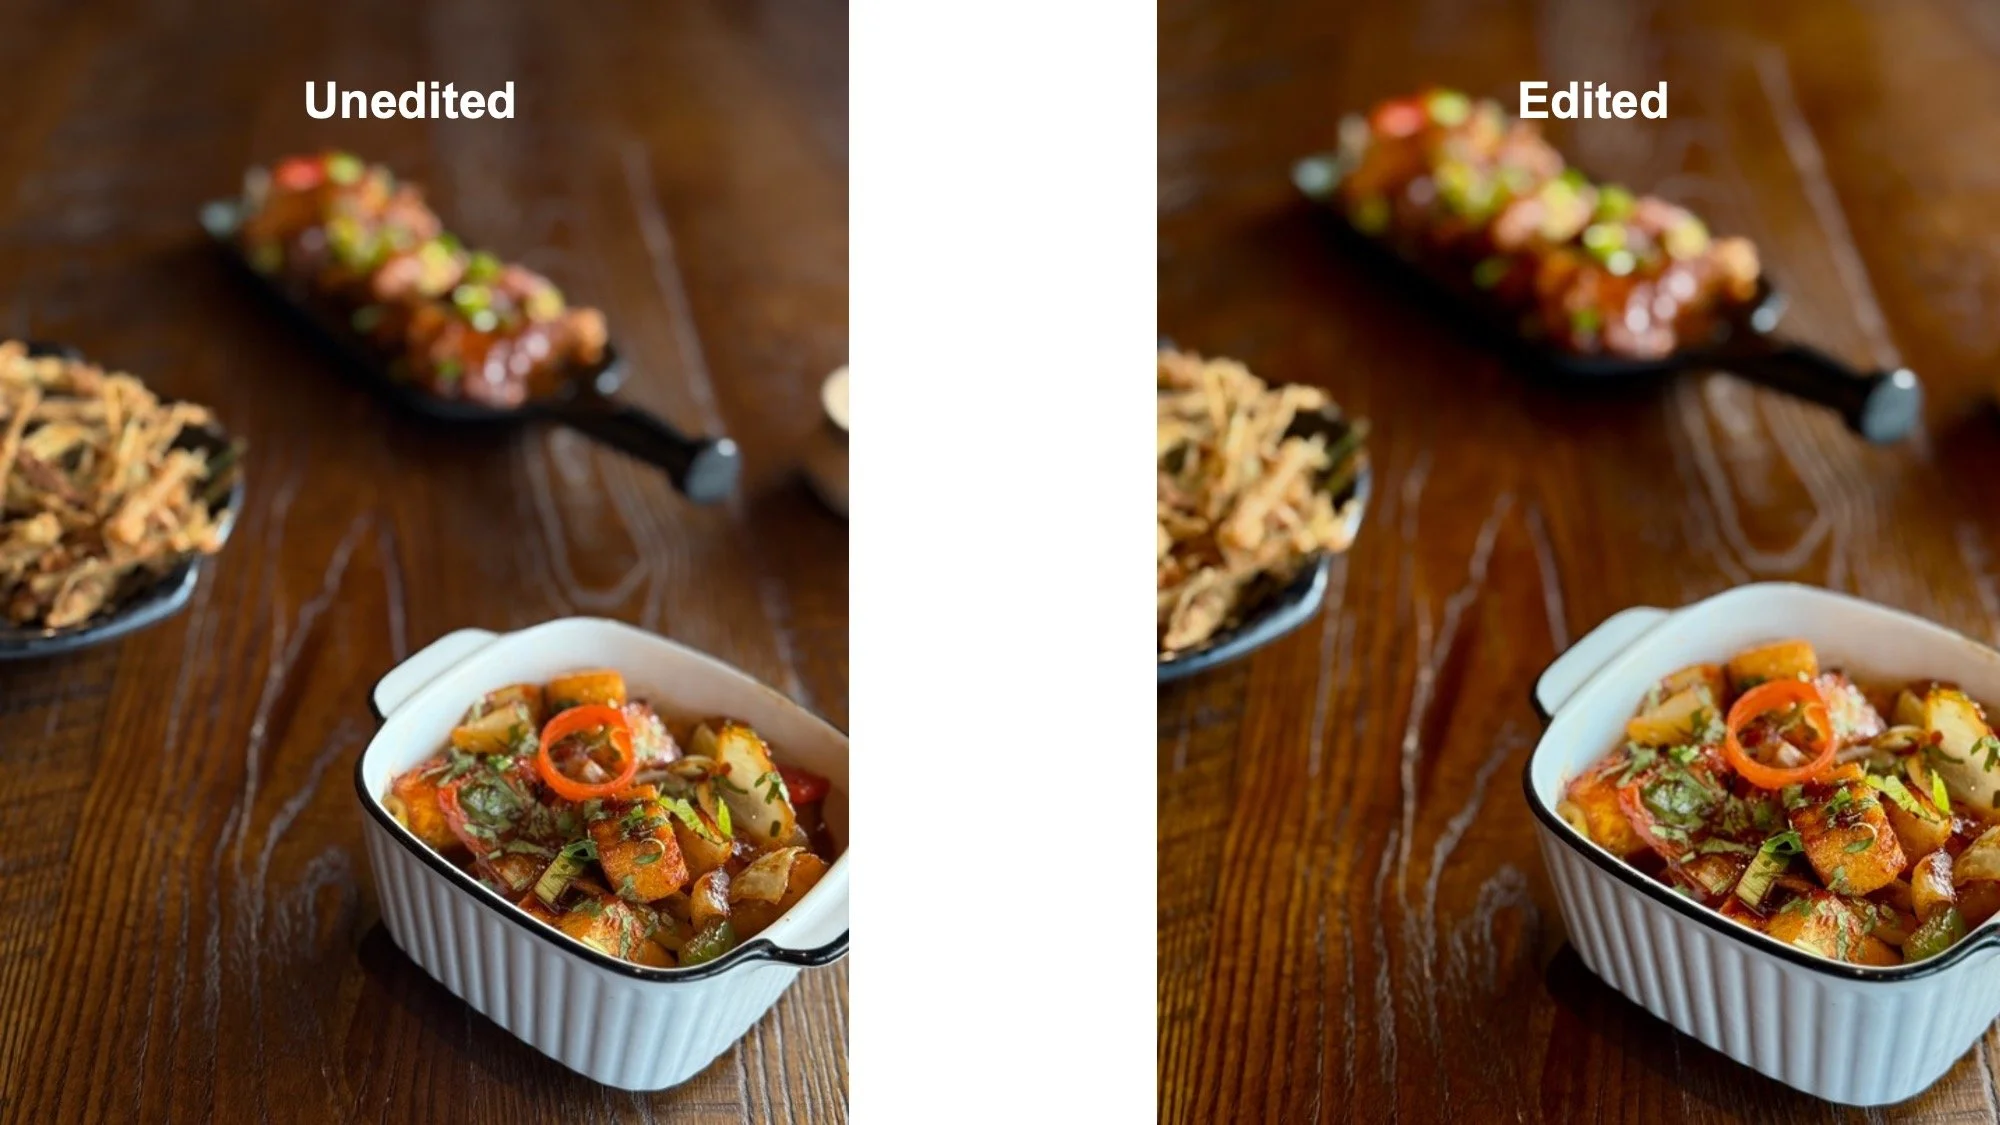
The photo on the left: No editing
The photo on the right: My simple 5-step iPhone edit
Check out Part 6 on how to edit food photgraphs so that they look natural and appetising.
The Final Collection Of Photographs
Bringing all of this together, the final collections of photos were:
Shot next to a window using soft natural light
Composed using the triangle technique
Slightly styled with clean edges and thoughtful plating by the chefs
Using the interiors of the gastropub to tell a story
Captured flatlays / overhead using Photo Mode
Captured 45° using Portrait Mode to isolate individual dishes
Edited lightly to preserve the authenticity of the food
It’s a reminder that when you master the foundations, your food photos don’t just look good, they look great!

A Huge Thank You To ckbk
Thank you so much to ckbk for inviting me to create this series.
It’s meant so much to be able to share my knowledge and passion in a way that’s simple, actionable, and food-focused.
Food content creation is my love language and teaching others how to do it well is something I’ll never stop doing.
Ready to take your own food photos to the next level?
If you’ve enjoyed this free 7-part series, you’ve already had a taste of what’s possible when you understand the foundations of food photography. But inside the iPhone Food Photography Course, we go much deeper and this is where the real transformation happens.
Through the course you’ll see the core concepts introduced in the series come to life through step-by-step video lessons, real-time demonstrations, and practical examples designed specifically for food creators using just their iPhones.
You’ll master 8 modules covering: Settings, Lighting, Composition, Angles, Styling, Colour Theory, Storytelling and Editing in a simple, non-techy way that’s easy to apply whether you’re at home or shooting in a busy kitchen.
Plus you’ll get downloadable cheat sheets, camera setting guides, assignment prompts, and access to a supportive Facebook community, where I regularly give feedback on your work.
You don’t need a big setup or expensive kit. Just your iPhone, your food, and a bit of guidance and I’ll walk you through every step.
As a thank you for following along, you can now access my signature iPhone Food Photography Course, normally £497 for just £197. (Roughly US $245, depending on exchange rate.)
That’s a massive discount of nearly 60%, exclusively for CKBK readers, and it is valid until 9th October 2025.
(Offer valid until 9th October)
Chef Dipna Anand (who features in this article) took this course during lockdown and says it helped her grow her following and confidence with food content. If it worked for her, it can work for you too.

Why this matters
I’ve set myself a big goal:
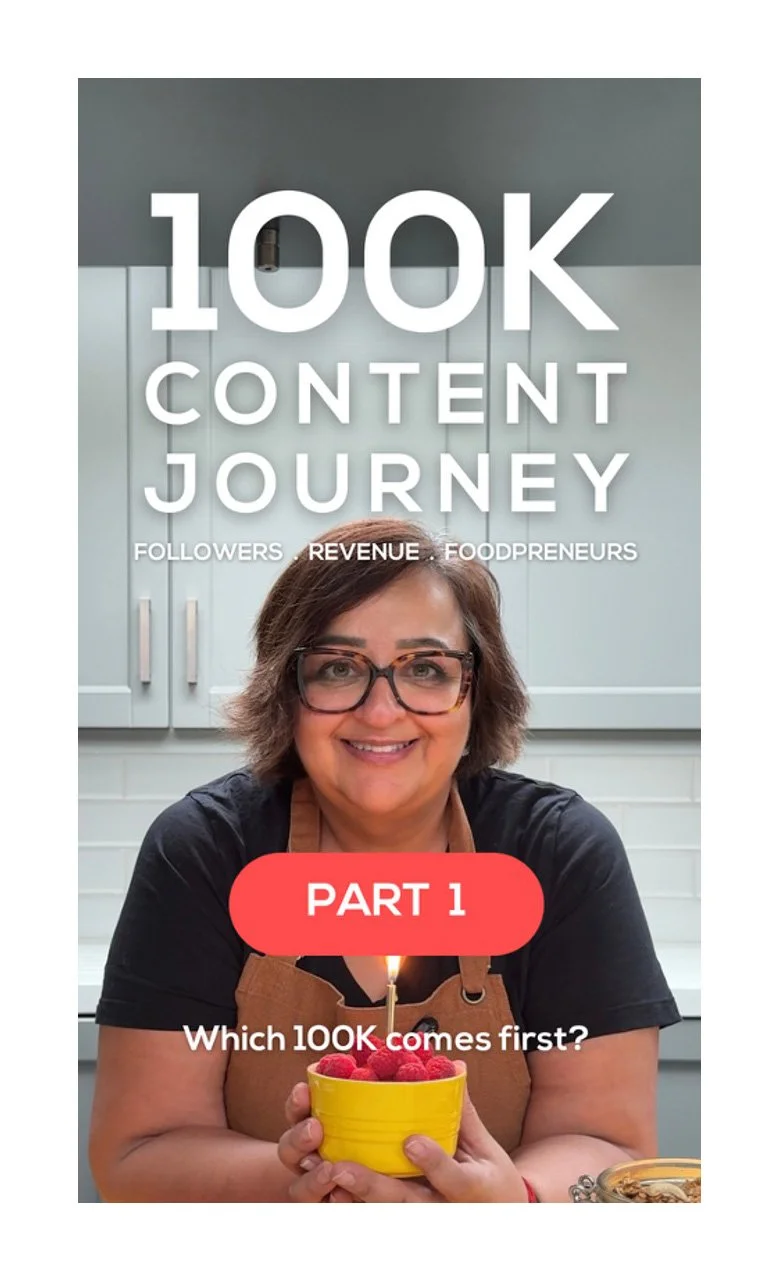
To empower 100K foodpreneurs to show up confidently with visual content that tells their story and grows their business. Want to know more about my 100K Content Journey Series on Instagram — click here to see Part 1.
This series is just one part of that journey, I’d love to have you along for the ride, so come follow me on Instagram @iphonefoodphotography if you haven’t already. I share behind-the-scenes, tips, and real-life moments and my 100K Content Journey.
Thank you for being here, and if you’ve made it to the end, I hope you’ll take the next step.
Because great food deserves to be seen.
And your food story deserves to be told.
Rupa xxx

In Case You Missed It...
Here’s a full list of the articles in the series
Article 1 - Settings and Camera Modes: How to make the most of your phone camera
Article 2 - Lighting: Working with natural light to make your food look delicious
Article 3 - Composition: Framing your shots using techniques like Rule of Thirds, Triangles, and Curves
Article 4 - Camera Angles: Choosing the right angle to tell the right food story
Article 5 - Styling and Storytelling: How to create mood, set a scene, and style your dishes naturally
Article 6 - Editing: Adding the final layer of polish without losing authenticity
Article 7 - Pulling It All Together (this article!): A behind-the-scenes walkthrough
More ckbk features

Keep the recipes you need available in an instant using our new pinned recipe feature!

Rupa shows how the angle you shoot from can transform the feel of an image, and offers tips to help you perfect your flat-lay

Food photography isn’t just about technical skills, the story you tell is just as important